Fortunately, there’s a way viewers can adjust video quality in Netflix but it’s not exactly straightforward like you would easily do on YouTube and other video streaming platforms. By default, Netflix plays video in the highest quality available. It’s left to you to adjust the quality of videos to a lower-resolution if you have limited internet bandwidth or poor internet connection. To change your video quality on Netflix, follow the easy steps below.
- On your Netflix profile, select “Account“
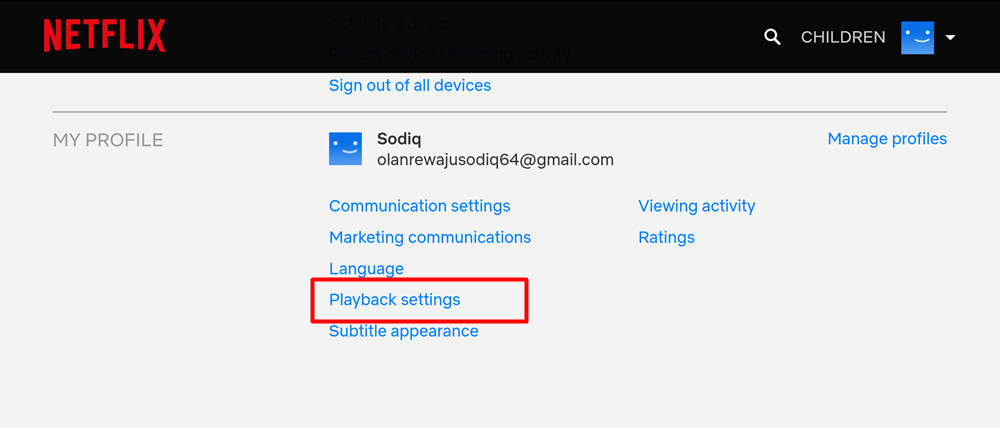
- Under the “My Profile” section, select “Playback Settings“
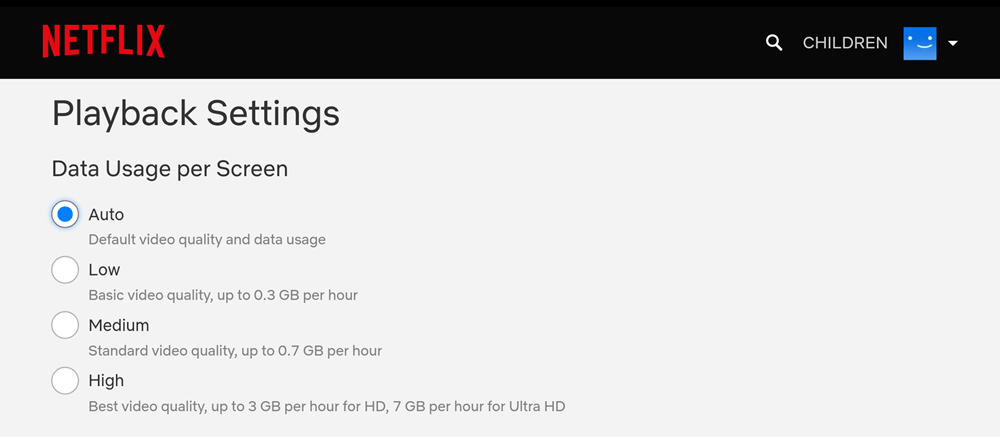
- Netflix will display the available video quality;
Auto — Default video quality & data usageLow — consumes up to 300MB per hour of screen view; perfect for viewing with limited or slow internet connectivityMedium — consumes up to 700MB per hour of screen viewHigh — this is the best video quality, consumes up to 3GB per hour (for HD) or 7GB per hour (for UHD). This is best when you have a super fast and unlimited internet connection
- Select whichever video quality you want and tap “Save“ NOTE: These steps are the same across all devices that support Netflix — mobile app, PC, smart TVs, game consoles, etc. Now you know how to control the quality of your streams to either improve them to the highest resolutions possible or lower them to save data.